How to calibrate your TV: why standard mode wrecks your movies
Learning how to calibrate your TV is not about being a perfectionist, it is about giving up the picture that was tuned to win a fight under showroom spotlights. Standard mode on nearly every set cranks brightness and sharpness because, in a shop aisle, brighter wins. In your living room after dark, the same settings crush shadow detail, bleach skin tones and tire your eyes within twenty minutes. Good news: ten minutes with the remote gets you about eighty percent of the way. A probe gets you the rest, if you want it.
Start here: the right picture mode
The serious measurement sites all agree, RTINGS being the bluntest example since it lab-tests every set it receives, on the first move: leave vivid and standard behind and select Filmmaker Mode, or its local cousin (Movie, Cinema, Picture, depending on brand). These are the modes that ship closest to a D65 (6500 K) white point and a correct transfer curve, and Filmmaker Mode earns extra credit for switching off every motion treatment that murders film. If your TV lacks it, the brand’s Movie or Cinema mode is the practical equivalent.
Everything below is trim. Useful trim, but second.
Brightness versus backlight: the mix-up that fools everyone
On TVs, brightness does not mean how much light the screen outputs. It means black level, where the video signal gets mapped above absolute black. A disastrous name inherited from decades of confusion: turn it up to see more in dark scenes and you get grey fog where shadows used to be. The control that actually governs how much light leaves the panel is the backlight (Samsung calls it Backlight, LG Backlight Lighting, and on OLEDs the OLED Light control governs power to the panel).
How to set both with no probe, in two moves. For black: pull up a low-IRE horizontal-stripe pattern on YouTube (the test patterns discussed on AVS Forum, or the old Digital Video and PBS bars, all work) and nudge brightness until the darkest stripes are barely separable from full black, with no grey glow. For backlight: set it until the screen looks comfortable in the room you actually watch in, because one practical rule beats a thousand diagrams: an LCD in film mode leaves the factory around 120-140 nits, above the cinema reference near 100 nits but reasonable for a lit living room. OLED plays a different game: OLED Light high for HDR, lower for SDR, to spare the panel and its power supply.
What NOT to touch
This list saves more disappointment than any calibration wizard.
- Contrast: in film mode it sits where it sits. Pushing it above the highlight clip adds nothing the master did not have; lowering it out of fear cuts detail out of clouds.
- Sharpness: zero, or minimum. A clean 4K signal is already sharp; every point above adds artificial edge halos and crunch on faces. If the image looks soft, the culprit is almost always a weakly upscaled source, and a 4K disc needs no help from you.
- Motion smoothing: the soap-opera effect. Off or minimum for films and series; film modes often kill it by themselves. If you like it on sport, fine, but that is a separate mode and a separate opinion.
- Color enhancement and dynamic saturation: film mode is already calibrated. Raising it gives you orange faces and radioactive grass, exactly like the shop floor.
- Aggressive black enhancement and maxed dynamic tone-mapping on budget sets: they crush shadow detail to fake contrast the panel cannot deliver. On cheaper panels, the fake shows, plainly.
The probe: when buying one makes sense
If the picture looked right after film mode and the two controls above, stop, you are done. An entry-level calibration colorimeter makes sense if you watch a lot on the same panel, control your room, or simply want the hobby. The real October 2026 market: the Datacolor SpyderX class still sits roughly between 230 and 320 euros depending on model and moment, while the Calibrite ColorChecker Display line, descendant of the X-Rite probes now on its own software, runs from about 220 to 350 euros (I saw the Display Plus HL listed near 259 euros in EU stores). Newer probes advertise TV-calibration apps; the consumer calibration market is small and app support shifts, so confirm your specific TV is supported before paying, which is the modern equivalent of measuring twice.
What a 250-euro probe does for you: corrects the white point and grey-scale curve that every panel gets slightly wrong, the kind of misses the review sites measure and publish. What it does not do: turn a 500-euro budget panel into a reference monitor. If the panel cannot drop below a certain fraction of a nit or has a canvas-color gamut, a probe straightens the average; it cannot invent headroom. The value ladder: film mode free, YouTube patterns nearly free, a professional calibration around 150-250 euros per visit, and a probe of your own from 230 euros up, which only pays off if you use it, and it earns its keep on a projector first.
HDR and gaming: two side notes
For HDR, let the TV run tone-mapping: the correct HDMI port (often the eARC or 4K/120 one), film mode for HDR too, and the tone-mapping control touched only if something shouts at you. On peak-heavy content, headlights, torches, titles on black, a small adjustment can hold highlight detail, but the base rule stands: HDR will not forgive your panel’s limits, and your panel will not work miracles for you.
For games, Game Mode is mandatory and separate: it is the only mode with low input lag, and on most modern sets it keeps 4K/120 and VRR as well. Does it inherit film-mode color? Almost never, so the controls above deserve a second run. If gaming is half your viewing, our living-room gaming guide covers the whole business.
The seven-minute recap
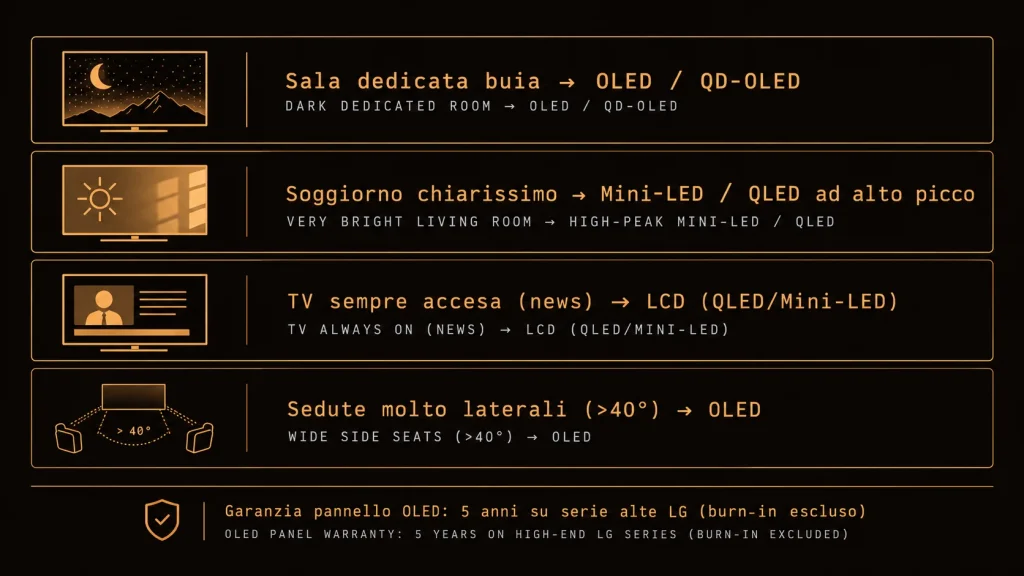
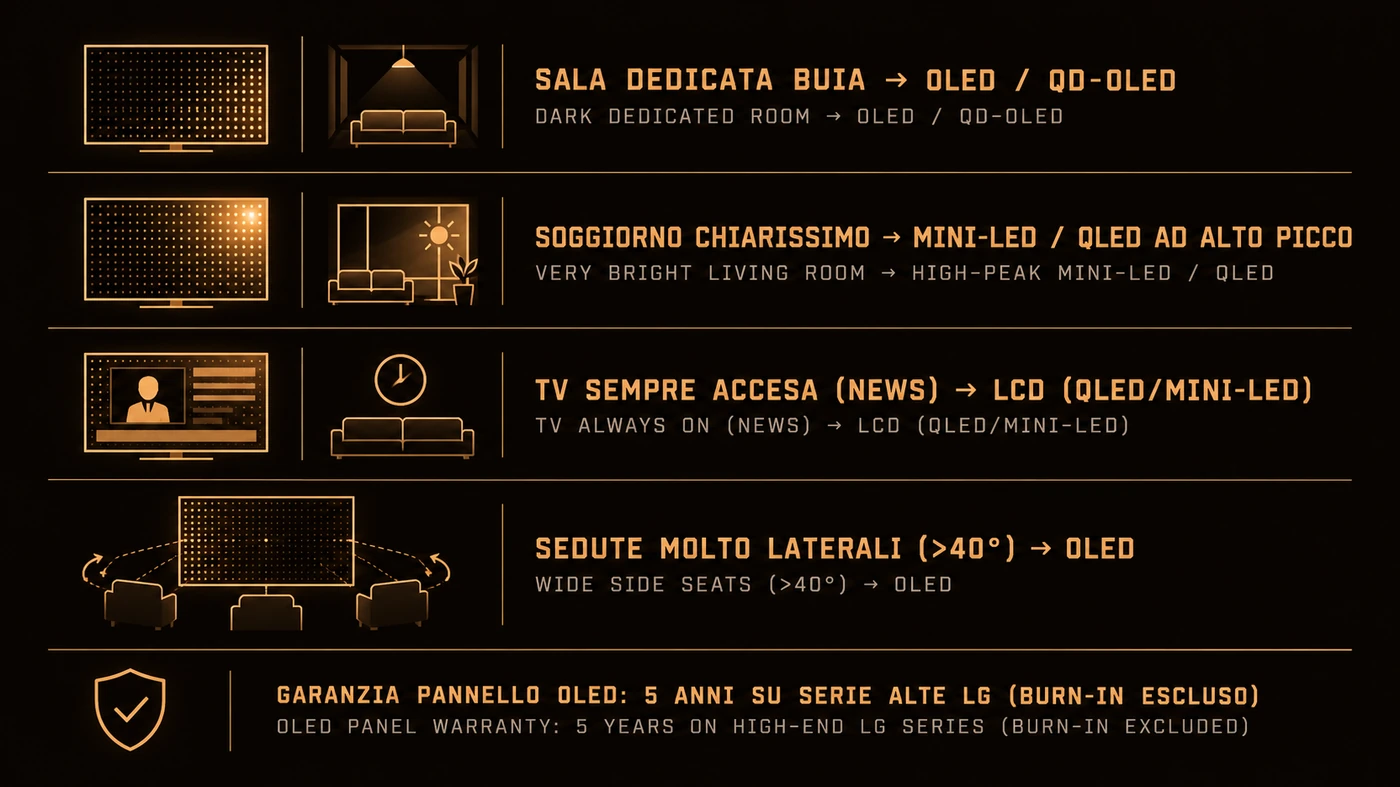
Film or Filmmaker mode. Sharpness to zero. Motion off. Brightness set against black-level patterns, backlight set to your room and not to the memory of August sun. Contrast and color already know what they are doing. If, after all that, the image is clean but blacks stay greyish, the problem is not in the menus: it is the panel, and sooner or later you will want an OLED, an argument the OLED versus LED comparison handles properly. Building from scratch? Every term you need sits in the glossary, and the costliest wrong turns are already collected for you.
One last caveat about calibrating without a probe: you are getting as close as a remote allows to what the studio colourist saw on their reference monitor. That is not nothing. But it is a best average, not a guarantee, and every panel leaves the factory with its own small distortions that no wizard deletes entirely.

Gear and further reading
- Laser distance meter for measuring the room
- Digital sound level meter for calibration
- Colorimeter probe for video calibration
- Lux meter for checking TV brightness
- Certified 2 meter HDMI 2.1 cable
- 4K streaming stick with Wi-Fi 6
- Full-motion wall TV mount
- Large sound absorbing panels, set of 4
- Square acoustic panels, 36 pack
- Universal remote for home cinema systems
Note: Some links on this site are affiliate links: if you buy through them we may earn a commission at no extra cost to you. Affiliate links are marked and never influence our recommendations.